If you’re eager to elevate your grilling game, using a wood plank is a fantastic technique to explore. Even if you’re not a seasoned grill master, this method can add depth and richness to your dishes while keeping things simple and approachable.
Wood plank grilling involves placing your food directly onto a wooden plank, typically made from cedar, hickory, or oak, which imparts a subtle, smoky flavor to your grilled items.
Here are some tips for those looking to try this method:
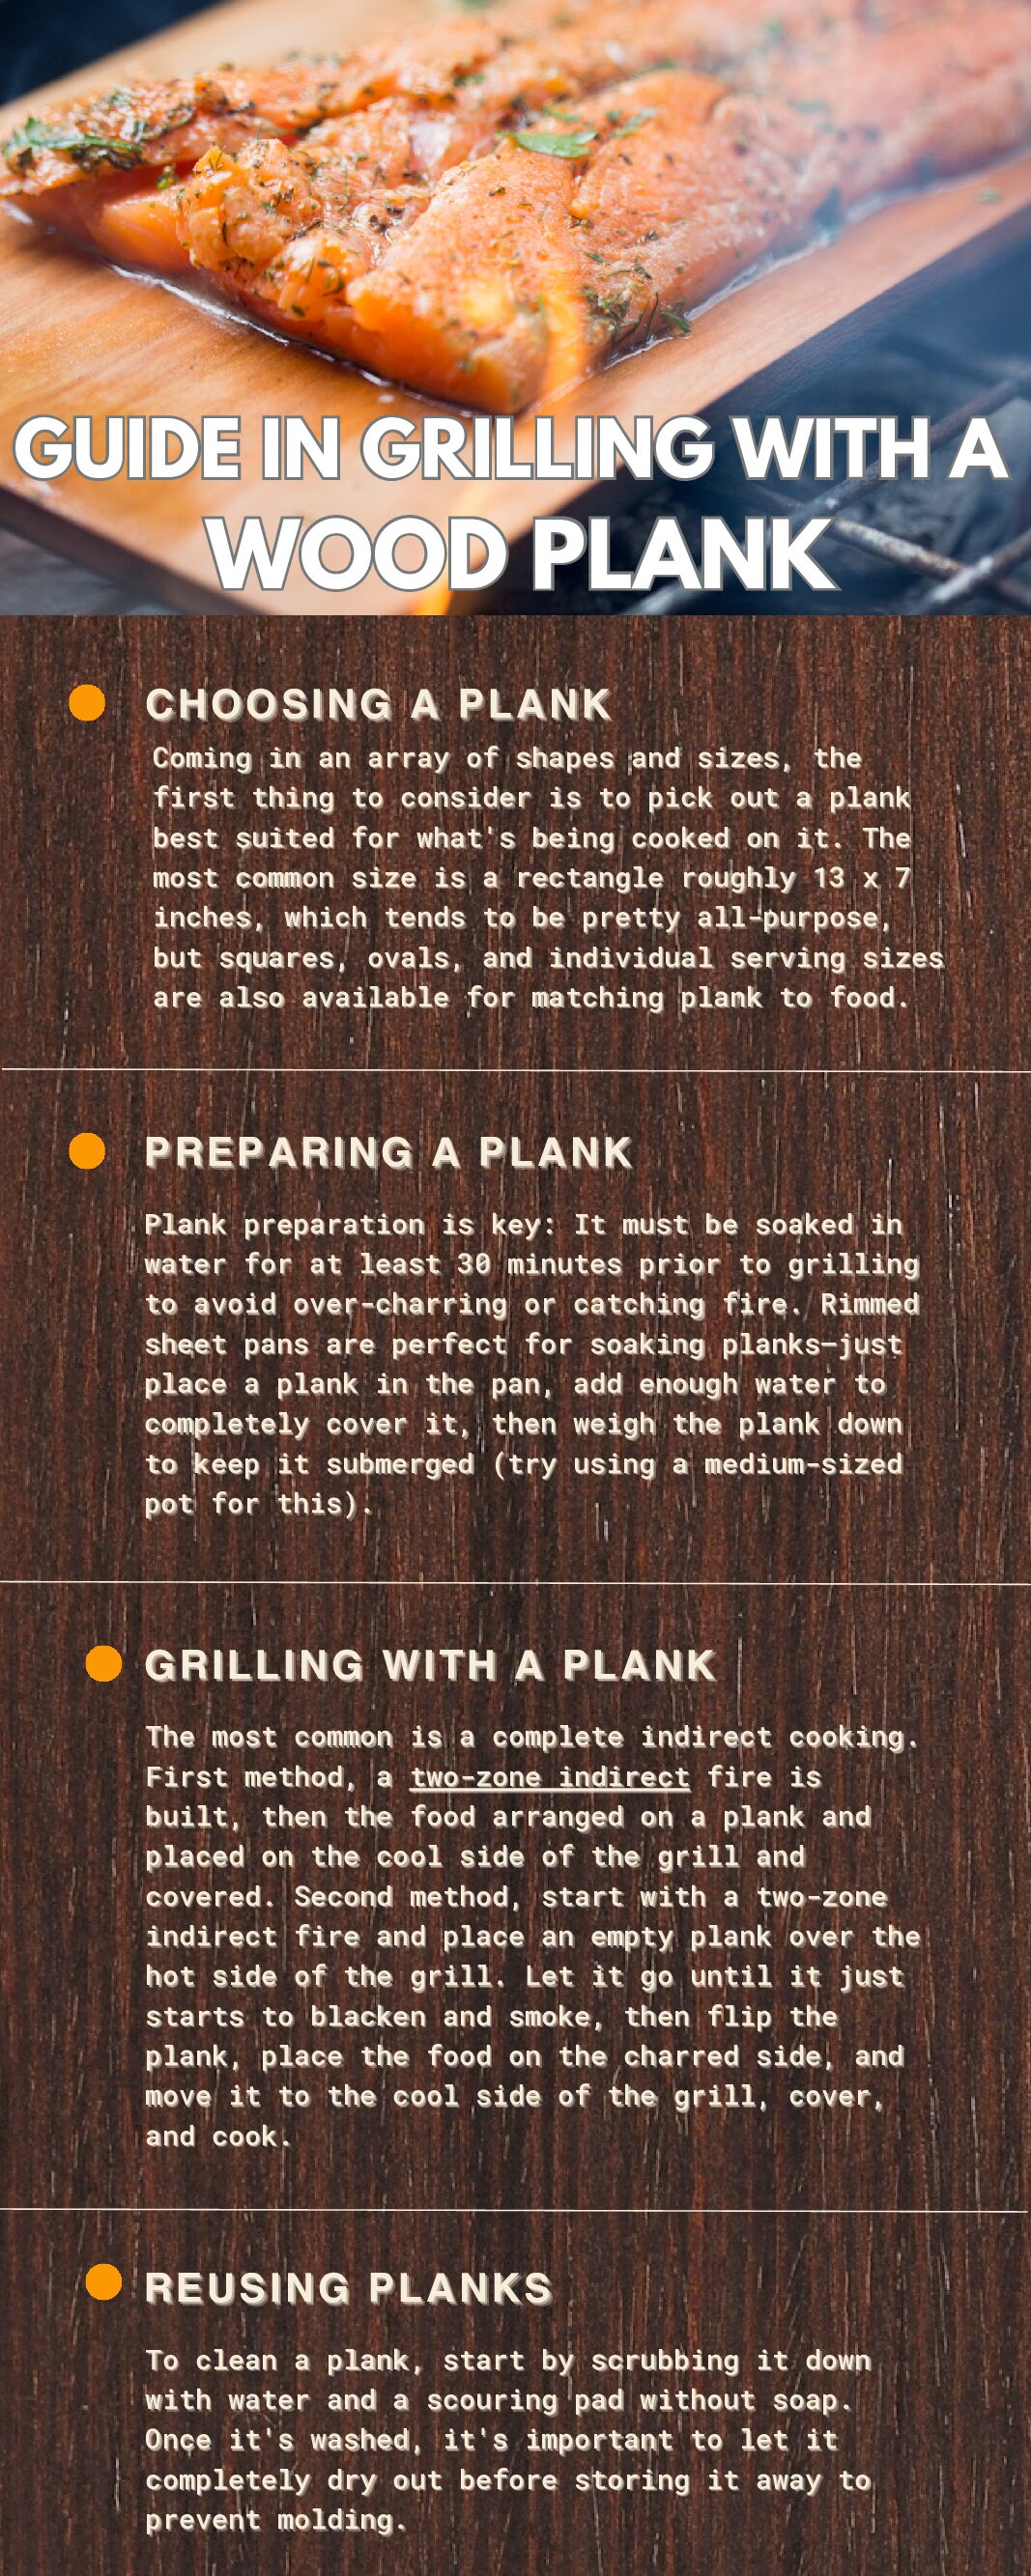
Choosing a Plank
Coming in an array of shapes and sizes, the first thing to consider is to pick out a plank best suited for what’s being cooked on it. The most common size is a rectangle roughly 13 x 7 inches, which tends to be pretty all-purpose, but squares, ovals, and individual serving sizes are also available for matching plank to food.
Preparing a Plank
Plank preparation is key: It must be soaked in water for at least 30 minutes prior to grilling to avoid over-charring or catching fire. Rimmed sheet pans are perfect for soaking planks—just place a plank in the pan, add enough water to completely cover it, then weigh the plank down to keep it submerged (try using a medium-sized pot for this).
Grilling with a Plank
The most common is a complete indirect cooking. First method, a two-zone indirect fire is built, then the food arranged on a plank and placed on the cool side of the grill and covered. Second method, start with a two-zone indirect fire and place an empty plank over the hot side of the grill. Let it go until it just starts to blacken and smoke, then flip the plank, place the food on the charred side, and move it to the cool side of the grill, cover, and cook.
Reusing Planks
To clean a plank, start by scrubbing it down with water and a scouring pad without soap. Once it’s washed, it’s important to let it completely dry out before storing it away to prevent molding.